Bluedot Push Notifications Module — Integration Guide
SDK version: 18.0.0
Module artifact: au.com.bluedot:pushnotifications
Overview
Starting from version 18.0.0, push notification support is delivered as a separate, optional module — pushnotifications.
The module:
- Handles FCM token registration with the backend automatically.
- Displays notifications when a push message is received.
- Lets you customise the look of notifications.
- Provides callbacks for received and clicked notifications via a
PushNotificationsEventReceiver.
Requirements
| Requirement | Value |
|---|---|
| Min SDK | 29 (Android 10) |
| Compile SDK | 36 |
| Firebase Cloud Messaging | com.google.firebase:firebase-messaging:25.0.1 |
| Core Point SDK | au.com.bluedot:pointsdk:18.0.0 |
Using non-compatible versions of the Firebase dependencies may lead to runtime crashes or unexpected behaviour.
Prerequisites
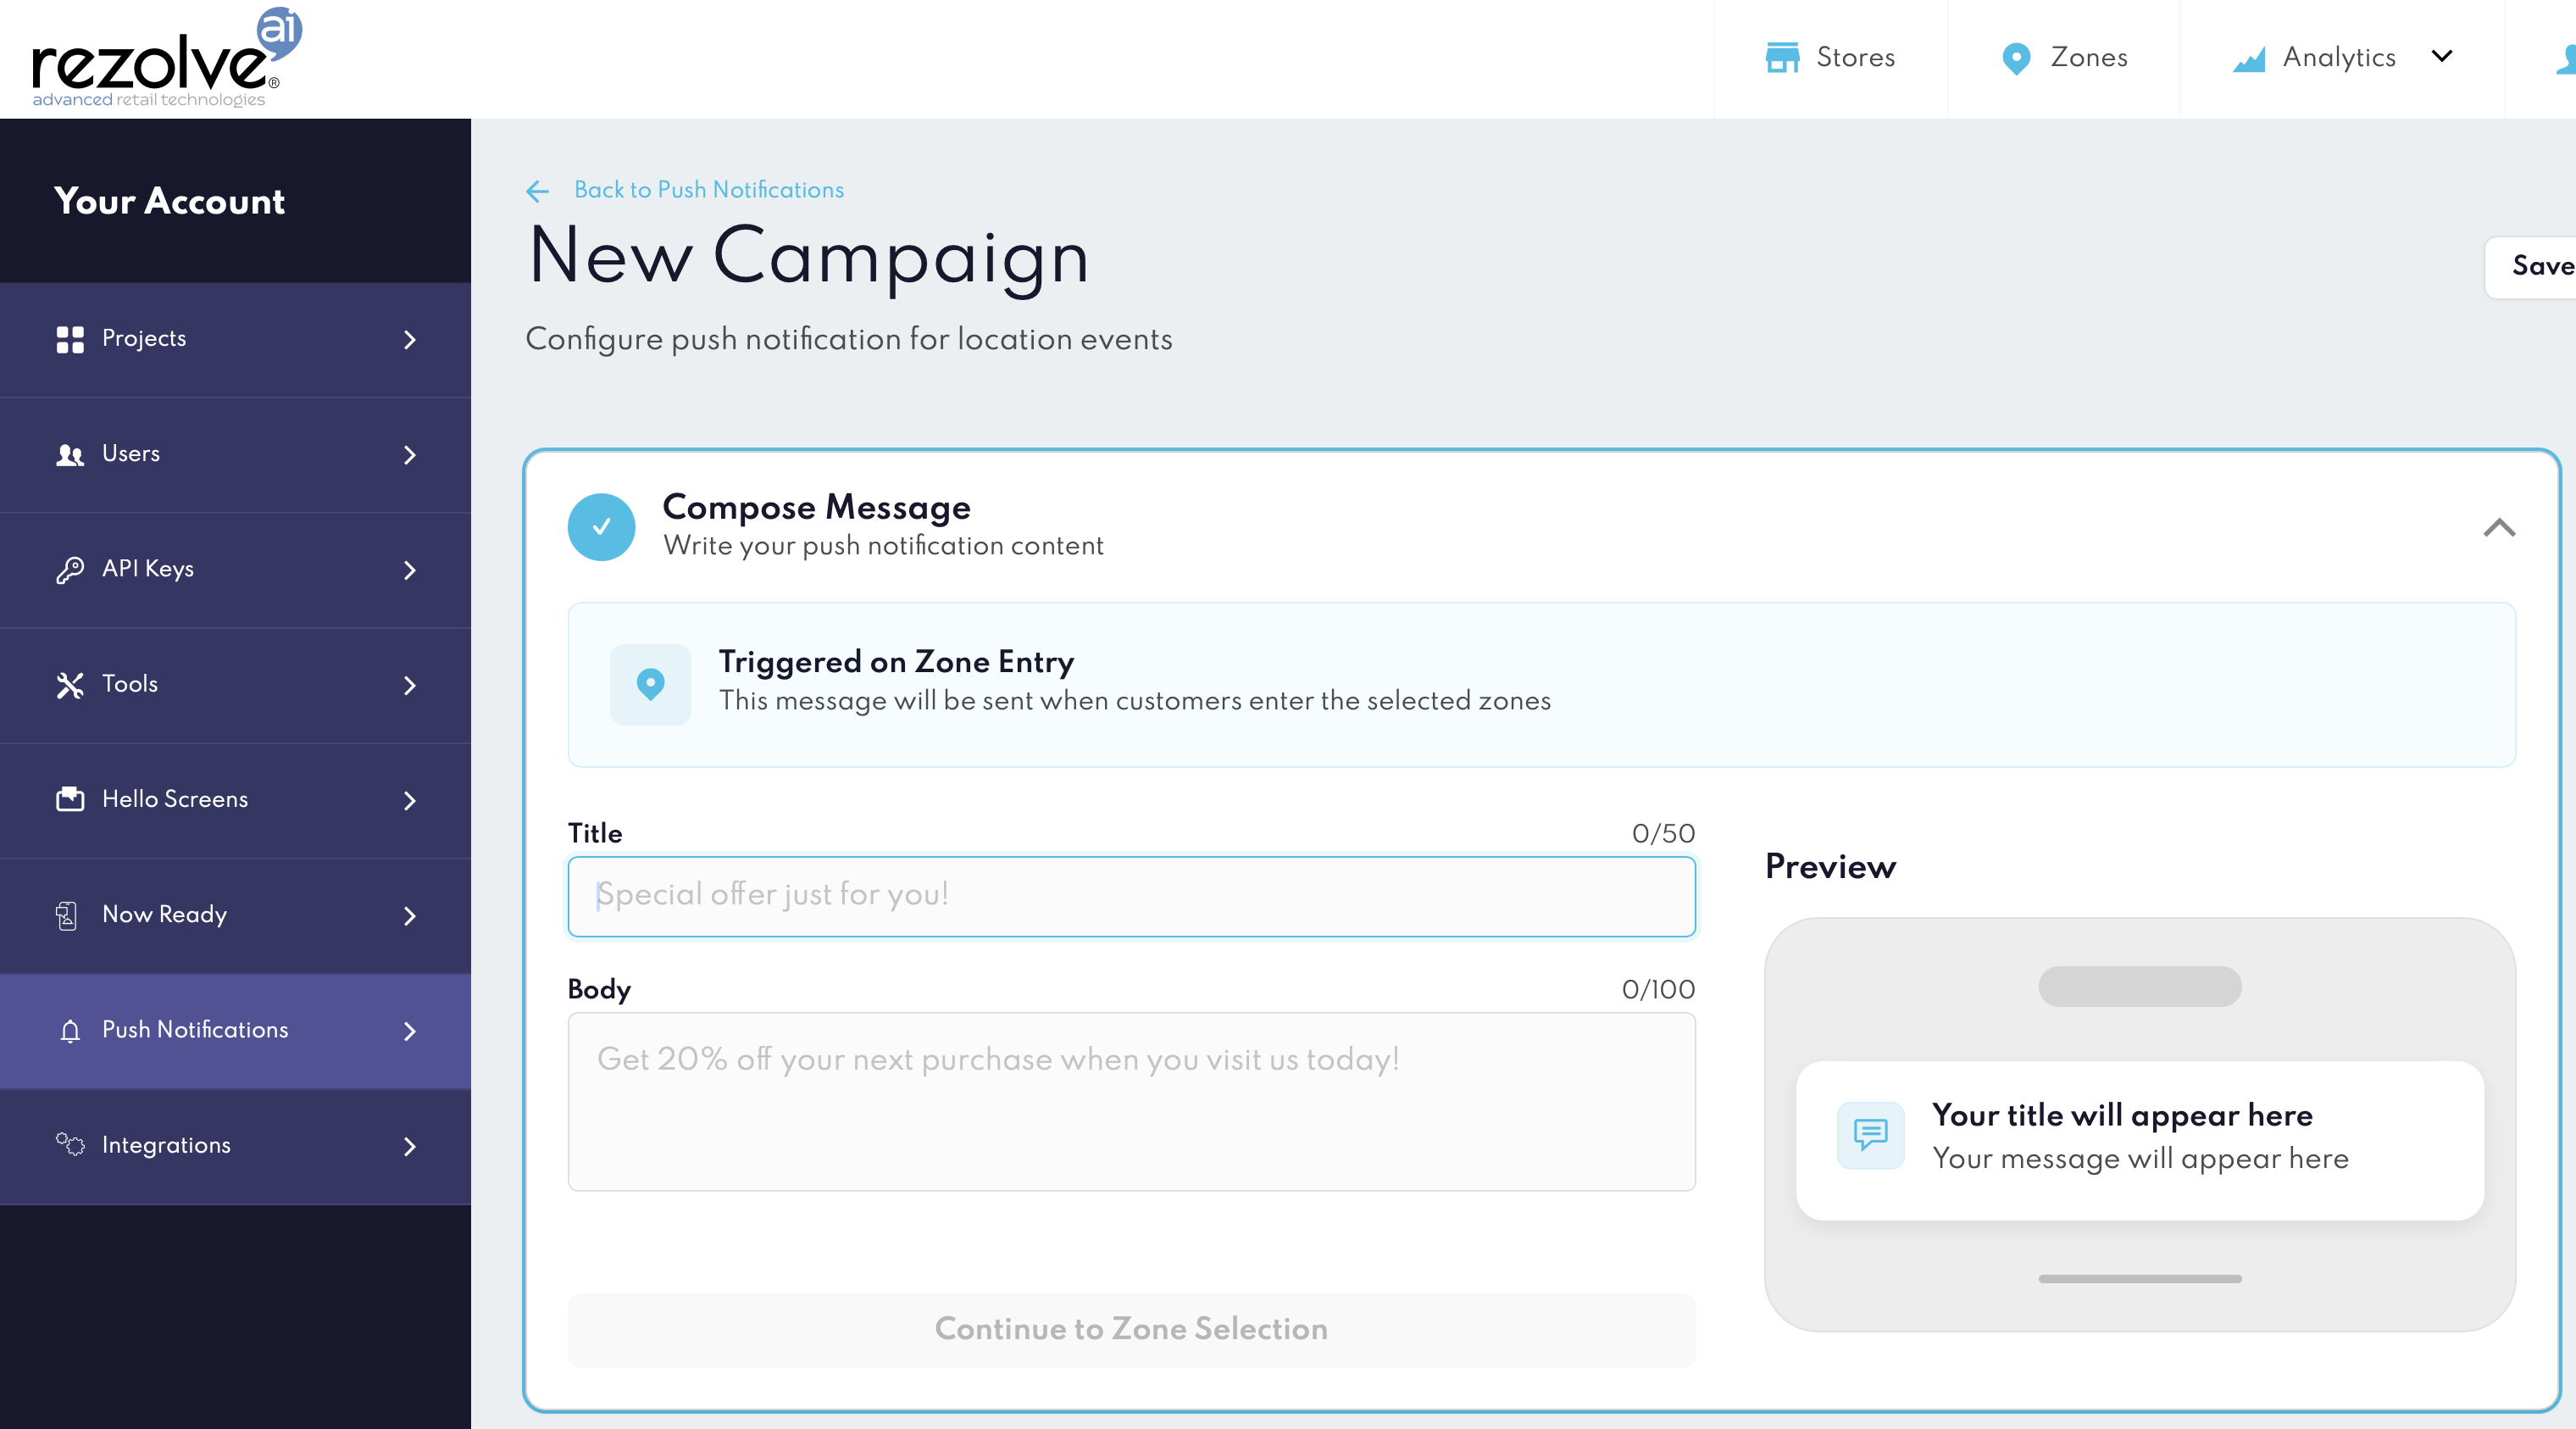
Configure Android Push Notifications credentials and campaign in Canvas.
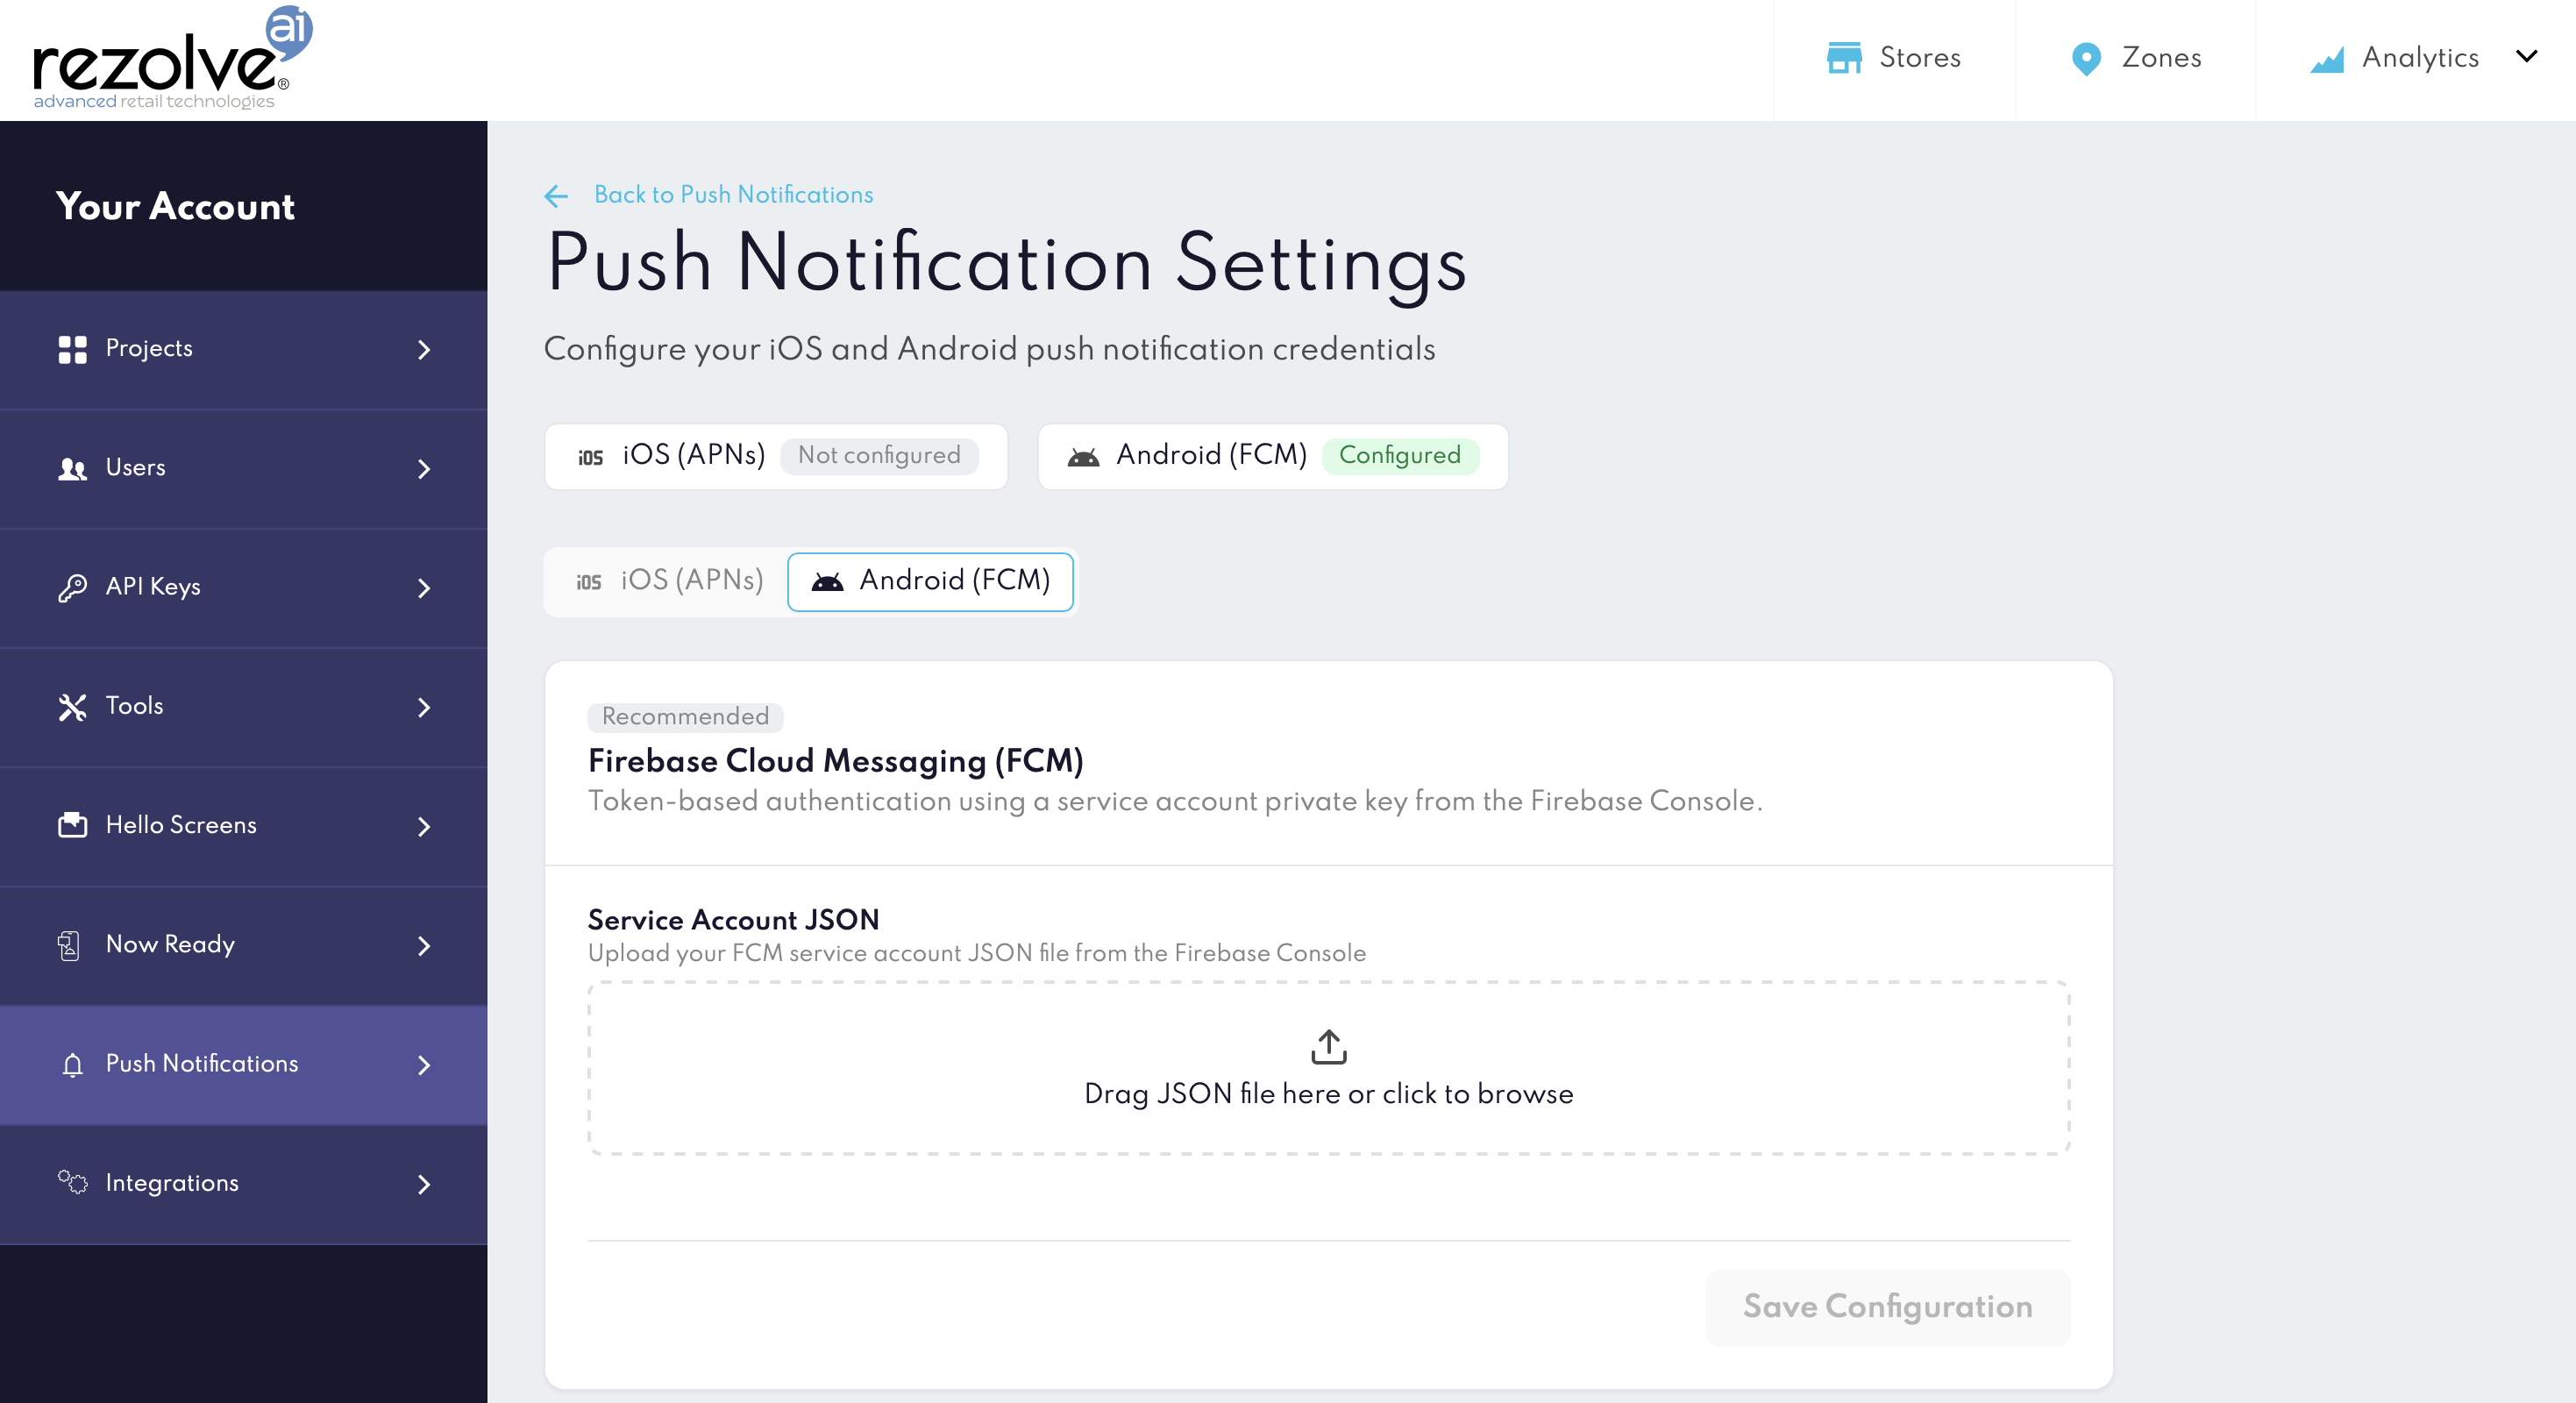
Setup Push Notifications campaign in Canvas.
Step 1 — Add the dependency
Follow Quick Start guide to set up the core SDK first, including the project configuration URL and initialisation.
In your app-level build.gradle, add the pushnotifications module alongside the core SDK:
dependencies {
    // ...
    implementation 'com.gitlab.bluedotio.android:point_sdk_push:18.0.0'
}
Step 2 — Firebase setup
The pushnotifications module uses Firebase Cloud Messaging (FCM) to receive push notifications. If your app doesn't use Firebase yet, follow the official Android documentation to set it up.
On Android 13 (API 33) and above, you must declare
POST_NOTIFICATIONSpermission in your manifest and request it at runtime. Follow official Android documentation for details.
Step 3 — Implementation of FirebaseMessagingService
As part of Firebase Cloud Messaging integration you have implemented your own FirebaseMessagingService subclass. Now we are going to use it to bridge FCM events into the pushnotifications module.
class MyFirebaseMessagingService : FirebaseMessagingService() {

    override fun onNewToken(token: String) {
        ServiceManager.getInstance(this).pushNotificationsManager.onNewFcmToken(token)
    }

    override fun onMessageReceived(remoteMessage: RemoteMessage) {
        // use convenient extension functions from the pushnotifications module to check if the message is from Rezolve and convert it to RezolvePushData
        if (remoteMessage.isRezolvePushNotification()) {
            ServiceManager.getInstance(this).pushNotificationsManager.onMessageReceived(remoteMessage.toRezolvePushData())
        } else {
            // Handle your own notifications here
        }
    }
}
Register the service in AndroidManifest.xml:
<service
    android:name=".java.MyFirebaseMessagingService"
    android:exported="false">
    <intent-filter>
        <action android:name="com.google.firebase.MESSAGING_EVENT" />
    </intent-filter>
</service>
Step 4 — Listen for notification events
To receive callbacks when a notification is received or tapped by the user, create a BroadcastReceiver that extends PushNotificationsEventReceiver:
class MyPushNotificationsEventReceiver : PushNotificationsEventReceiver() {
    override fun onNotificationReceived(rezolvePushData: RezolvePushData, context: Context) {
        // Called when a Rezolve push notification arrives
        // Use rezolvePushData.campaignId, .zoneId, .notificationId, .data
    }

    override fun onNotificationClicked(rezolvePushData: RezolvePushData, context: Context) {
        // Called when the user taps the notification
    }
}
Register the receiver in AndroidManifest.xml:
<receiver
    android:name=".MyPushNotificationsEventReceiver"
    android:enabled="true"
    android:exported="false">
    <intent-filter>
        <action android:name="io.bluedot.point.PUSHNOTIFICATIONS" />
    </intent-filter>
</receiver>
NotificationData fields
| Field | Type | Description | Example value |
|---|---|---|---|
title | String | Notification title (empty string if absent) | "Title defined in Canvas Campaign" |
body | String | Notification body text (empty string if absent) | "Body defined in Canvas Campaign" |
pushVersion | String | Push schema version | "1.0" |
campaignId | String | Campaign UUID | "b70e49c0-f12e-4ff1-b9f3-9d53767dc5b9" |
zoneId | String | Zone UUID | "89060cba-a910-481a-aeb5-816182fdf01f" |
notificationId | String | Notification UUID | "01J1ZQK8R4F9W6M0X9C1JZ7N2B" |
data | Map<String, String> | All remaining custom key-value pairs from the payload | {"custom_key":"custom_value"} |
Step 5 — (Optional) Customise the notification appearance and behaviour
By default the module displays a standard notification using a built-in icon and the IMPORTANCE_DEFAULT channel.
On notification click the SDK sends the broadcast to the receiver defined in Step 4 and starts the default launcher activity defined for the app.
To override the appearance or behaviour, supply your own NotificationCompat.Builder before the first message arrives:
val channel = NotificationChannel(
    CUSTOM_PUSH_CHANNEL_ID,
    "Custom Push Notifications",
    NotificationManager.IMPORTANCE_HIGH
)
val notificationManager = context.getSystemService(Context.NOTIFICATION_SERVICE) as NotificationManager
notificationManager.createNotificationChannel(channel)

val contentIntent = PendingIntent.getActivity(
    context,
    0,  // request code — unique integer to distinguish this PendingIntent from others;
        // use different values if you create multiple distinct PendingIntents
    Intent(context, YourCustomActivity::class.java).apply {
        flags = Intent.FLAG_ACTIVITY_NEW_TASK or Intent.FLAG_ACTIVITY_SINGLE_TOP
        // Optionally pass data:
        putExtra("my_custom_id", "1234")
    },
    PendingIntent.FLAG_UPDATE_CURRENT or PendingIntent.FLAG_IMMUTABLE
)

val customBuilder = NotificationCompat.Builder(context, CUSTOM_PUSH_CHANNEL_ID)
    .setSmallIcon(R.drawable.your_notification_icon)
    .setColor(ContextCompat.getColor(context, R.color.your_brand_color))
    .setPriority(NotificationCompat.PRIORITY_HIGH)
    .setContentIntent(contentIntent)
    .setAutoCancel(true)

ServiceManager.getInstance(context)
    .pushNotificationsManager
    .setCustomPushNotification(customBuilder)
PendingIntent is a system-managed token that dies with the process. Make sure to set the custom builder early in the app lifecycle (e.g. in Application.onCreate) so it is available when the first notification arrives. If the module receives a message before you set the custom builder, it will create and use a default one.
The module fills in
.setContentTitle()and.setContentText()automatically from the message payload, so you do not need to set them in your builder.